FMEA Worksheet
The Worksheet tab for an FMEA presents the analysis data in the traditional tabular format that most FMEA practitioners are familiar with. It allows you to type directly into the worksheet cells and tab through the analysis as you would in a spreadsheet application such as Microsoft Excel.
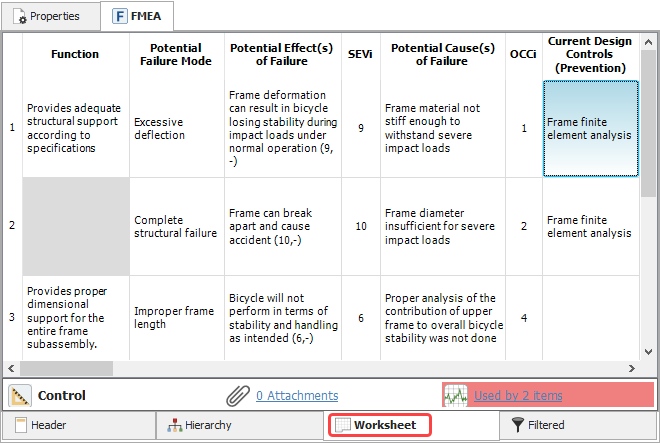
The status bar at the bottom of the tab displays the record type and the number of attachments the record has. For controls and actions, it also includes a link to the Dependency Viewer where you can see where the resource is used. If a control or action is used more than once, this area is highlighted as shown above.
Tip: Starting in Version 2020, if the analysis contains records with ancestry information, each record's cell contains an icon ( ![]() ,
, ![]() or
or ![]() ) indicating the status of its association with the source record.
) indicating the status of its association with the source record.
Adding or Editing Records
To add or edit records in the worksheet, you can use the commands on the FMEA ribbon, or right-click inside a cell and use the shortcut menu. The options depend on which cell is currently selected. (See FMEA Tab for a complete list.)
You can also add and edit records directly in the worksheet cells. The options vary depending on whether the cell is selected or in edit mode.
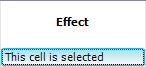
When a cell is selected:
- Click twice or press ENTER to switch to edit mode.
- Use the HOME, END and arrow keys to navigate between selected cells.
- Use CTRL+C and CTRL+V to copy and paste an entire record.
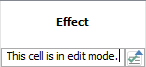
When a cell is in edit mode:
- Press ALT to save changes and exit edit mode. Press ESC to exit edit mode without saving changes.
- Press TAB to navigate to the next column on the same row. Press SHIFT+TAB to navigate to the previous column.
- Press ENTER to navigate down to the next row. If you press ENTER from the last record in a column, the software prepares a new row so that you can create a new record.
- Use the HOME, END and arrow keys to move through the text within the cell.
- Use CTRL+C and CTRL+V to copy and paste selected text within the cell.
-
Click the Select Existing icon
 to find and reuse text that has already been entered in this type of field.
Note: For projects that use the Grouped Effects and Causes FMEA structure, effects are edited in the Effect Properties Window rather than directly in the worksheet.
Reordering Columns
The project’s interface style determines which columns are displayed in the FMEA worksheet, as well as the column order. This will be the same for any user who views the analysis.
If you drag and drop a column heading into a new position while using the worksheet, the new order will be saved in the interface style if you have write access for the project. If you have read-only access, the new order will not be retained after you leave the current worksheet.
Resizing Columns
To resize a column, drag the column heading to the desired width. The preferred widths will be saved per computer/username. This will be the same for any analysis you view on this computer, but other users may have different column size preferences.
Repeating Data
To populate the gray areas in the worksheet with the relevant information from a prior row, choose File > Application Setup. On the Settings page select the Repeat data in worksheet views check box.
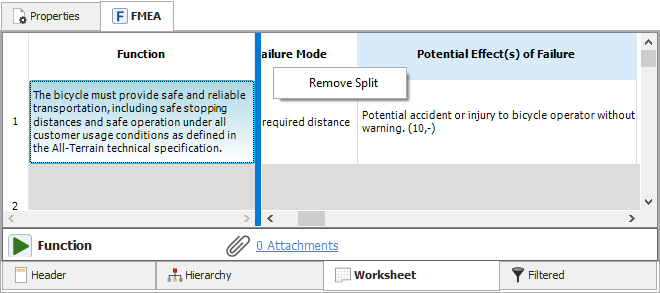
Inserting or Removing a Split Bar
A split bar creates two areas in the worksheet that scroll separately.
- To insert a split bar to the left of a selected column, right-click the heading and choose Split.
- To remove the split bar, right-click again and choose Remove Split.