Using Configurable Settings in Projects
As you begin working with the configurable settings in XFMEA/RCM++, it may be helpful to keep a few basic principles in mind:
- A complete set of configurable settings are stored with each project in the database.
- The library contains predefined settings that can be copied into any given project at any time.
- Settings are copied,
not linked.
- Changing settings in the library does not automatically update any of the settings for existing projects. You will need to reapply the updated profile to each affected project.
- Changing settings for a particular project does not automatically update the library that the settings were originally copied from. You will need to apply/transfer the same changes in the library, if appropriate.
While it is possible to configure settings for an individual project, it is more common to use one or more profiles, which are collections of predefined settings for a particular type of analysis. For example, your organization may need one profile for Design FMEAs and a second profile for Process FMEAs and a third profile for RCMs (if applicable).
To save time and ensure consistency, authorized users can manage a library of predefined settings and profiles that can be copied into any project. For standard databases, the library is a separate file (*.lb22) that can be stored on your computer or a shared network folder. The ability to modify the settings depends on whether the user has read/write access to the file. For enterprise databases, the library is stored directly in the database and can be accessed only by users with the "Manage profiles and templates in XFMEA/RCM++" permission. The library file that is in effect at any given time on your computer is called the active library. Although you can maintain multiple library files if desired, only one library can be active at any given time.
For new users, we recommend the following basic workflow:
- Configure the library to contain the settings your organization will need. Assign one user (or a small team of users) to use the Profiles/Libraries Manager to create a library that contains a predefined profile for each type of project your team may need to use. For example, your organization may need one profile for Design FMEAs, a second profile for Process FMEAs and a third profile for RCMs (if applicable). Alternatively, you may need to create different profiles (e.g., with different rating scale criteria) for different product lines, etc.
Tip: If you start with the library that is installed with the software, it may help to avoid confusion if you delete any settings that are not relevant for your team. You can restore the original shipped library at any time if you need it.
- Make sure that all users are sharing the same active library. With an enterprise database, this is the only option. With standard databases, you can place the library database in a shared network location and then instruct all users to set this shared file as the active library on their computers. Alternatively, you can simply distribute a copy of the latest file to all users. When you’re working with a standard database, the active library can be set at the top of the Profiles/Libraries Manager window.
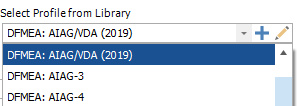
- Establish the configurable settings for each project. The simplest way to set the properties for a particular project is to choose a predefined profile from the drop-down list on the General tab of the Project Properties window. This will automatically copy all of the relevant settings from the library to the project.
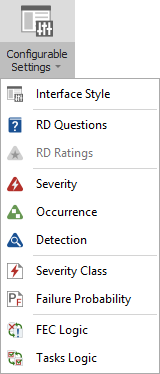
- View/modify the settings for an individual project, if desired. If you need to view or modify the settings for one particular project only, use the Configurable Settings tab of the Project Properties window or choose Project > Management > Configurable Settings.
Remember that changing the settings in an individual project does not automatically update the library or any other projects.
- If you want the changes to apply to all future projects, it may be more efficient to update the active library and then reapply the profile to any existing projects that need to be updated.
- If you want to change a particular project only, edit the project settings directly via the Configurable Settings tab of the Project Properties window or by choosing the appropriate option from the ribbon.
Unmatched Settings Window
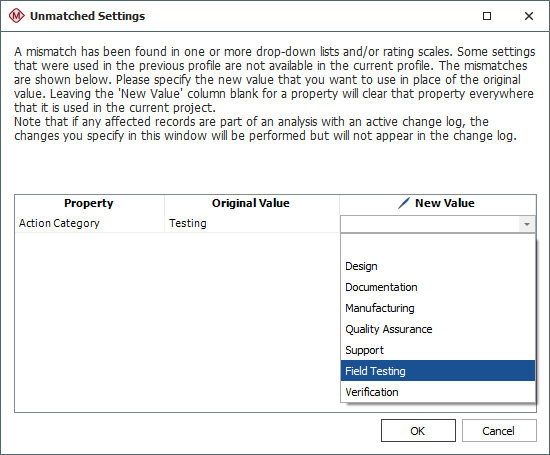
If you change a drop-down list or rating scale in a project that already contains data, the Unmatched Settings window provides a quick and easy way to update existing records, if desired. This window will appear automatically when it is applicable.
For example, if you remove or rename one of the options in the Action Category drop-down list, and if the project contains any actions that have already been assigned to that option, you will be prompted to specify which category those actions should be reassigned to (if any). Simply select the appropriate option from the New Value drop-down list, as shown next.