Contour Plots and Confidence Bounds on Parameters (Part II)
In Part I of this article, we took a look at Contour Plots and Confidence Bounds on Parameters and in this month's issue we will continue with this subject. In ReliaSoft's Weibull++ software, there are two locations in which you can view likelihood ratio confidence bounds on the parameters: the Quick Calculation Pad (QCP) and the contour plot. This article describes how to configure Weibull++ to calculate the confidence bounds using the likelihood ratio method, how to generate and use contour plots to compare data sets and how to obtain LR confidence bounds on the parameters from the QCP. This article also examines any differences between the confidence bounds results obtained from contour plots and from the QCP in Weibull++.
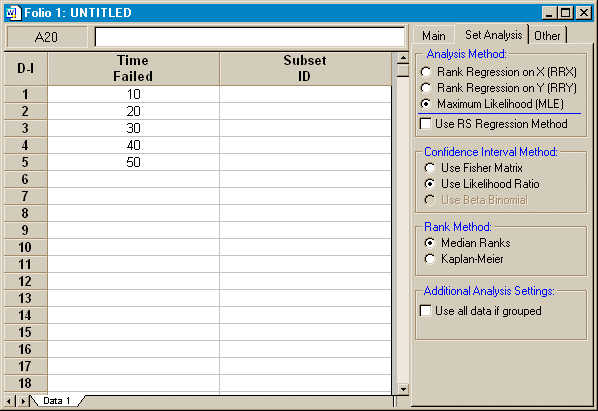
To calculate confidence bounds using the likelihood ratio method in Weibull++, go to the Set Analysis tab of the Folio and select the Use Likelihood Ratio option under Confidence Interval Method , as shown in Figure 1.
Figure
1: Select Use Likelihood Ratio option for Confidence Bounds
Once this option has been selected, then the rest of the analysis will continue using the LR method. The first step is to estimate the parameter values. Continuing with the data from last month's article (shown in Figure 1) and using the two-parameter Weibull distribution along with maximum likelihood estimation (MLE), the calculated parameters are β = 2.2938 and η = 33.9430. Click the Plot icon to create the probability plot and select Contour Plot from the list of available plot types. A window like the one shown in Figure 2 will be displayed.
Figure
2: Select contour levels
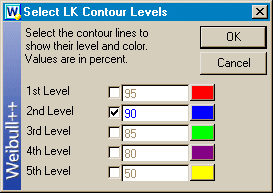
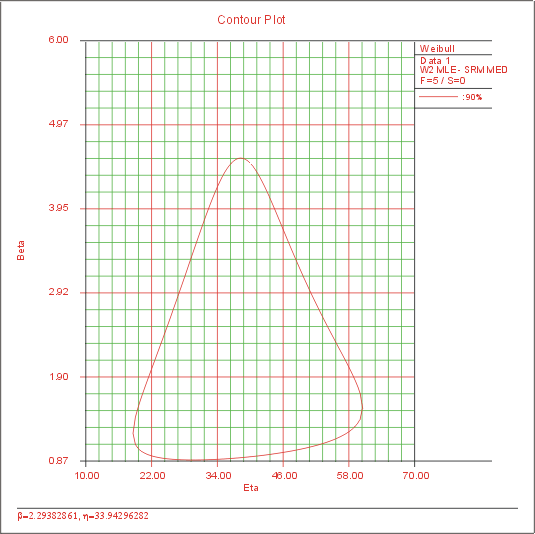
From the Select LK Contour Levels window, you can specify the confidence level(s) for which to show the contour lines. You can show a maximum of five contour lines for each data set and you can determine which lines are plotted by toggling the checkbox for each level. When you are satisfied with your selections, click OK to generate the contour plot. Figure 3 displays the contour plot at the 90% confidence level.
Figure
3: Contour plot
But what does this plot represent? First of all, the plot was created using the LR method, which assumes that the likelihood statistic is Chi-Square distributed (as discussed in last month's article), where the confidence level (90% in this case) is used as the input for the Chi-Square. The plots created in last month's article were created with one degree of freedom while the contour plots created in Weibull++ use two degrees of freedom. Why? Well, using two degrees of freedom allows you to include the joint confidence region as opposed to a single confidence region.
Comparing Data Sets Using Contour Plots
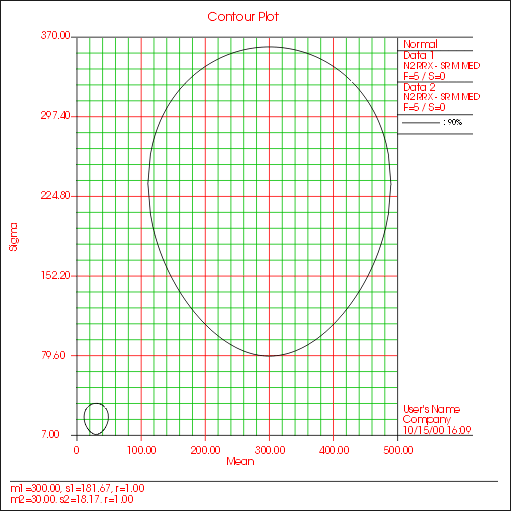
Contour plots can be used for comparing data sets. For example, consider two data sets, where one set represents the old design, the second data set represents the new design and you would like to determine whether the two designs are significantly different, and at what confidence. By plotting the contour plots of each data set in a multiple plot (the same distribution must be fitted to each data set), you can determine the confidence at which the two sets are significantly different. If, for example, there is no overlap between the two 90% contours, i.e.the two plots do not intersect, then the two data sets are significantly different with a 90% confidence. If there is an overlap between the two 95% contours, then the two designs are NOT significantly different at the 95% confidence level. An example of non-intersecting contours is shown in Figure 4.
Figure
4: Contour plot comparing two data sets
Additional information regarding the use of contour plots can be found at /hotwire/issue16/hottopics16.htm.
--Quick Calculation Pad and LR Confidence Bounds
Now that we have taken a look at the contour plots, let's take a look at the results returned via the QCP. While viewing the contour plot, you can access the QCP from the Tools menu. Go to the Confidence Bounds tab and select Show Confidence Bounds, if it is not already selected, then select Two-Sided and enter 0.9 for the confidence level. Now go to the Parameter Bounds tab and click Calculate Bounds. The results for the current example are shown in Figure 5.
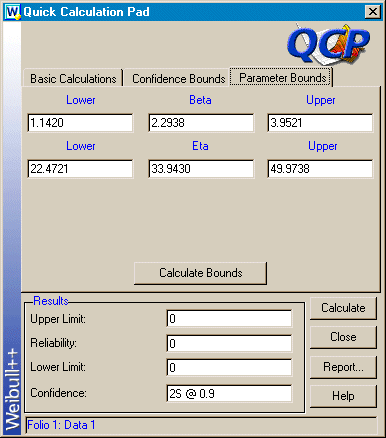
Figure
5: QCP LR confidence bounds on parameters
Upon further inspection, you will notice that the values returned by the QCP do not match the contour plot. The values are slightly different. This is due to the fact that the plot uses two degrees of freedom, while the QCP uses one degree of freedom.