Adding, Removing and Editing Responses
Before building your design, make sure you have the correct number of responses (i.e., the types of output that you want to measure) and that each response is defined appropriately. These settings are selected on the Design tab.
Adding and Removing Responses
There are three ways to add or remove responses from a design.
You can choose Design > Responses > Add Response.
![]()
If two or more responses are included in the design, you can remove a response by selecting it in the navigation panel and choosing Design > Responses > Remove Response.
![]()
You can also add/remove responses by right-clicking a response and choosing the appropriate option from the shortcut menu.
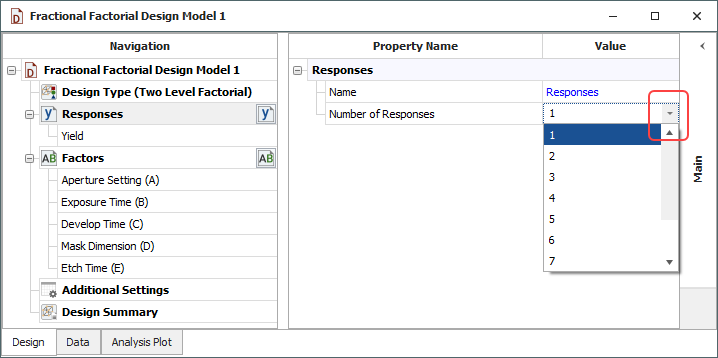
To quickly add or remove several responses at once, click the Responses heading and then change the number in the Number of Responses drop-down list in the input panel, as shown next.

Note that when you decrease the number of responses using the drop-down list, the responses at the bottom of the list will be deleted first.
Editing Responses
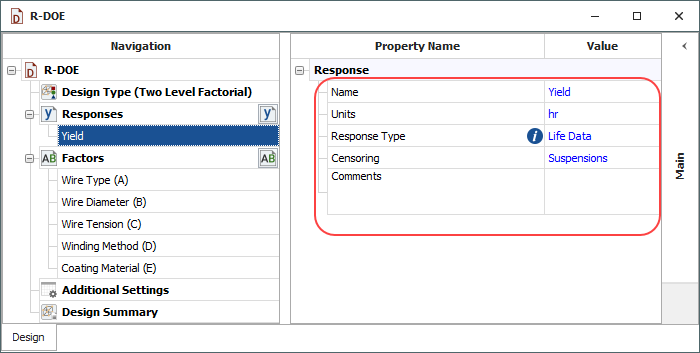
You can define the properties of an individual response by selecting it in the navigation panel and editing its properties in the input panel, as shown next.

Alternatively, you can edit all the responses simultaneously
by clicking the Modify Responses
icon in the navigation panel ( ![]() ).
).
The following properties are available:
Name is the label for the response.
Units are the units of measurement that will be used for the response.
Response Type specifies whether you will be using life data (e.g., failure times) for the response values. If you select Life Data from the drop-down list, the data sheet will be configured for reliability DOE. Note that only one response in a given design can contain life data.
Censoring is applicable only if the response contains life data. The option you select from the drop-down list will determine which columns will be added to the Data tab so you can enter the selected type of censored data. For example, if you select Intervals, then the Data tab will include a Last Inspected column and a Time Failed column. (See Reliability Design Data Types.)
The Comments field allows you to save notes or other text about the response. This information is not used in any calculations, and it can be accessed only via the input panel.